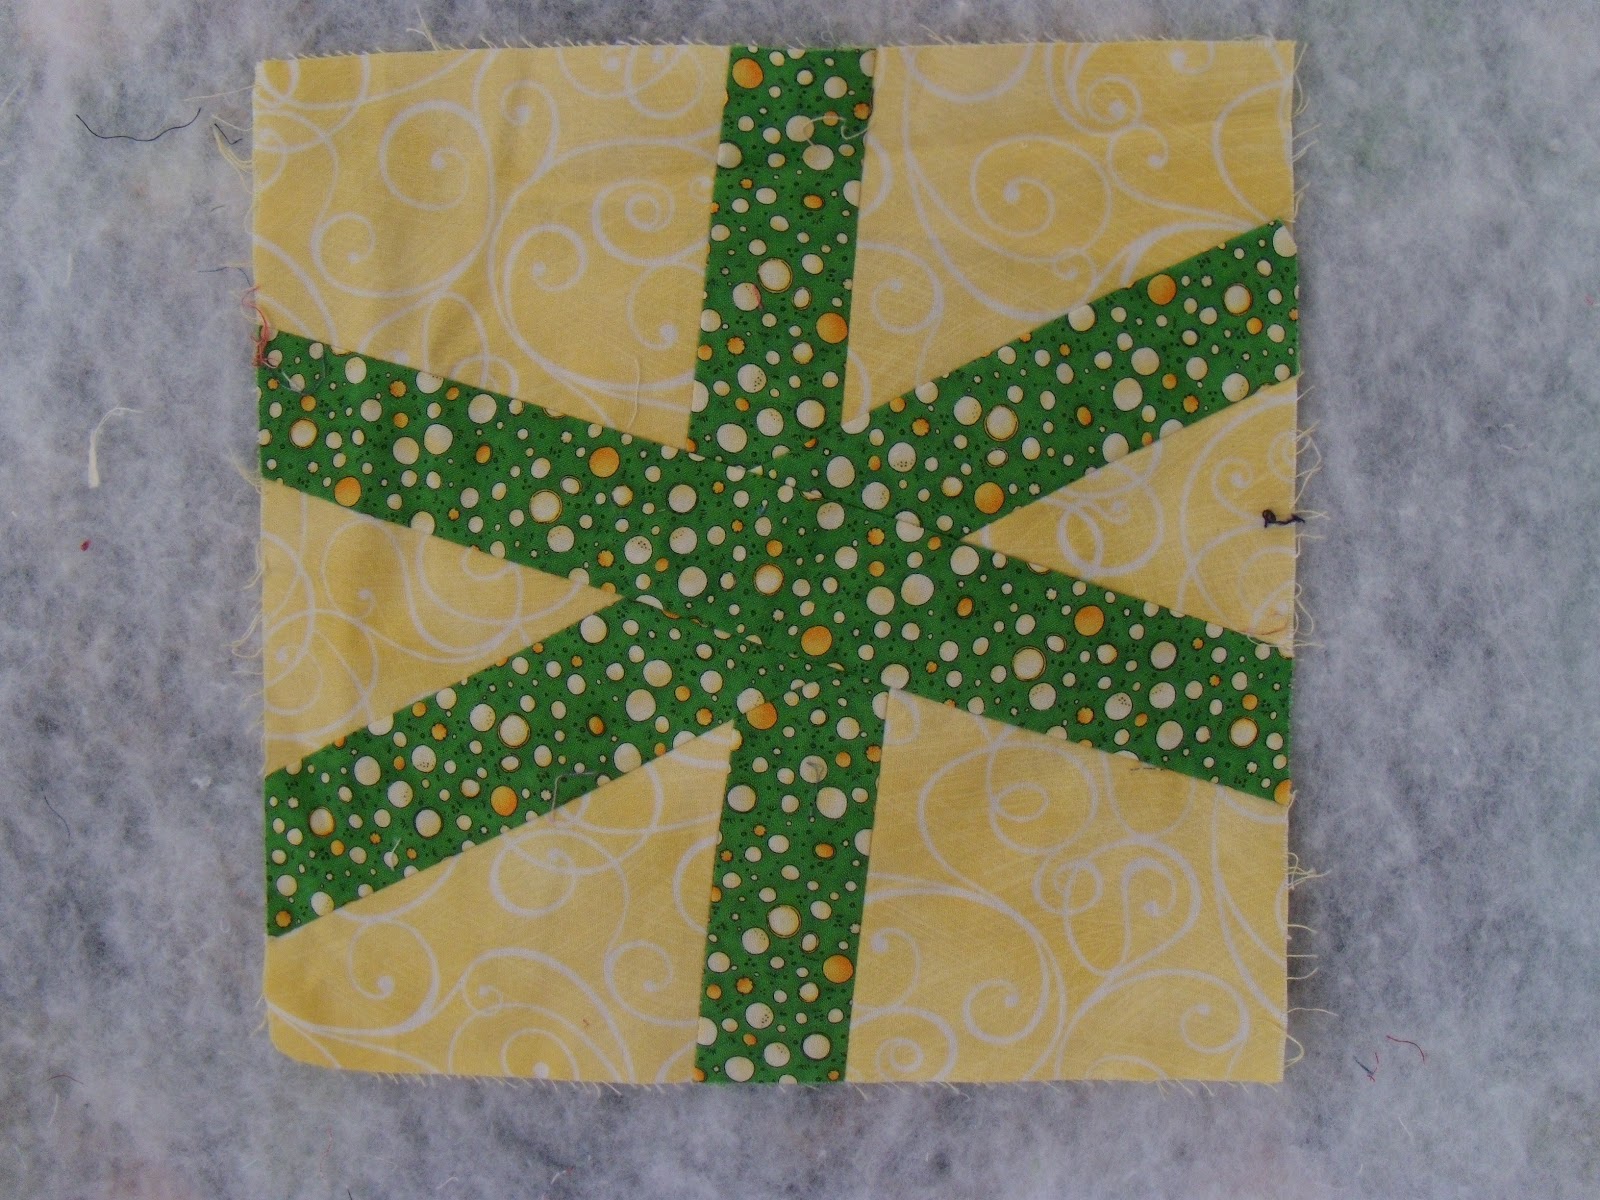
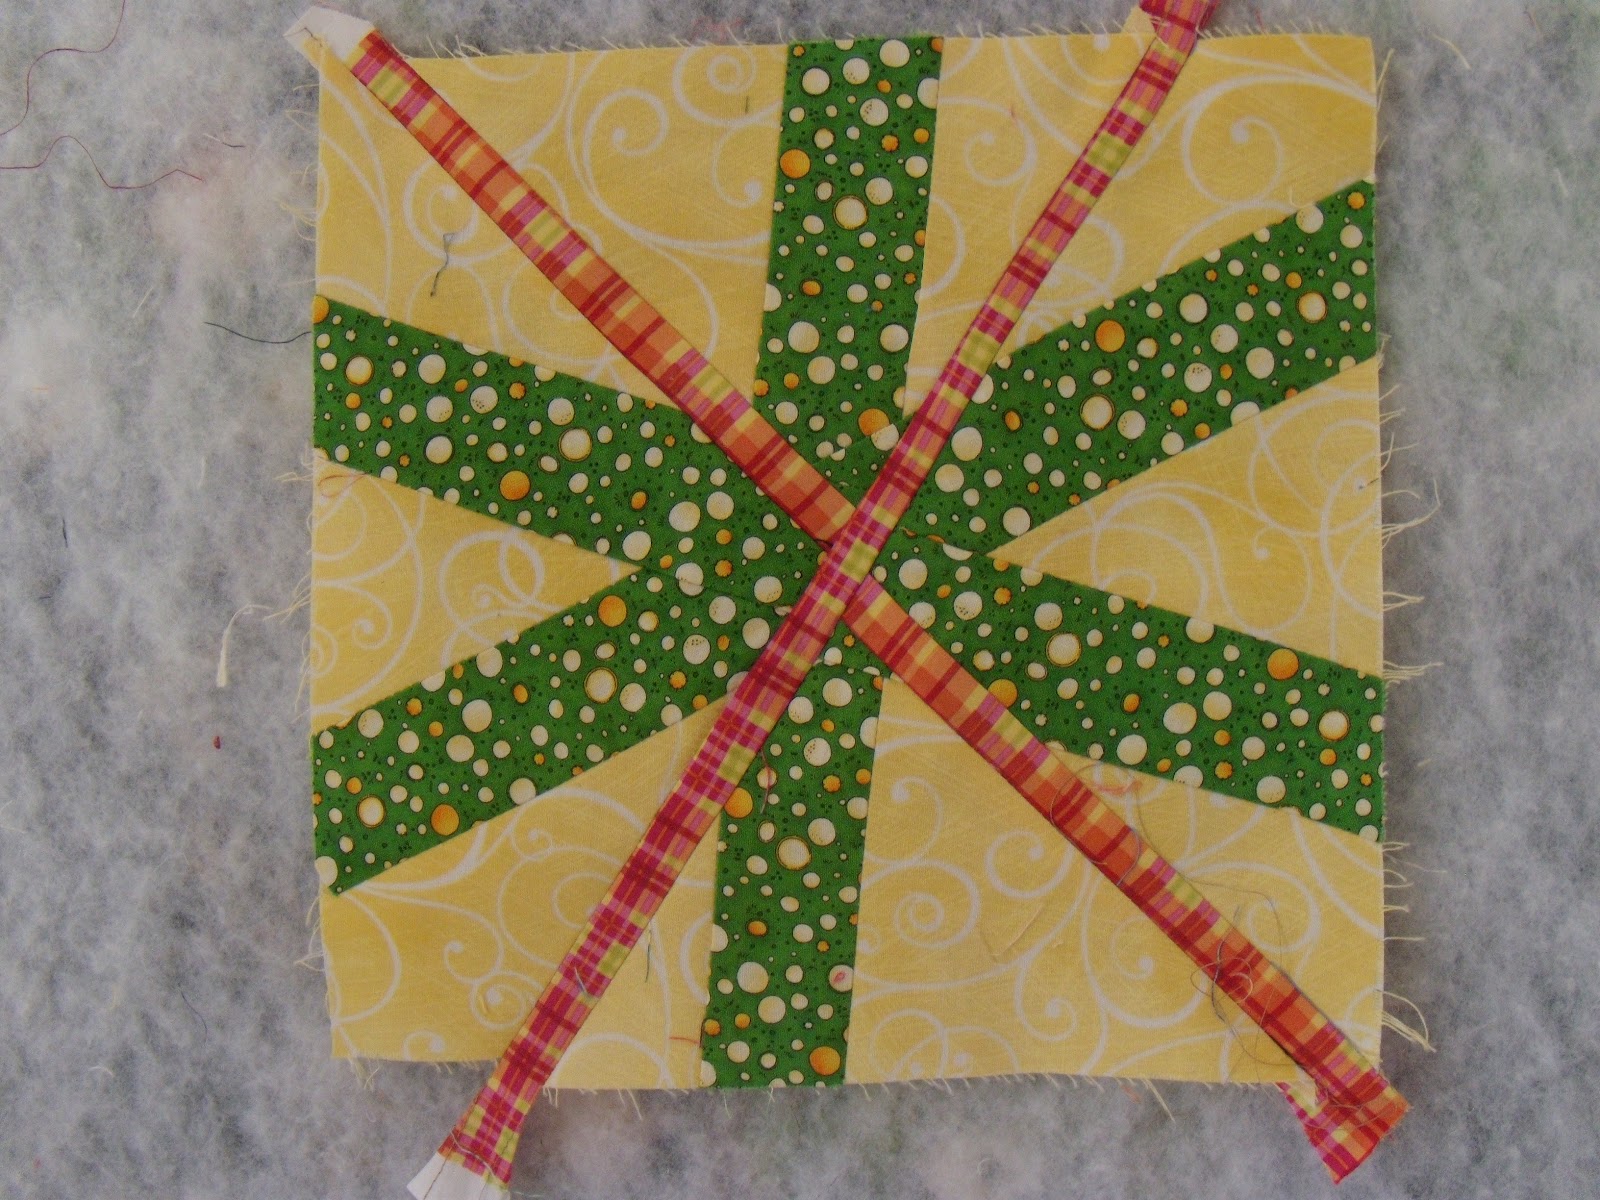
I just wasn't happy with the center of my RR, and my Step 1 didn't improve anything. If I didn't start over, I knew I'd lose interest in the RR and I didn't want that to happen.
So I began again, this time with triangles left from a long ago traditionally pieced quilt and added more triangles cut from 3 old (traditional) blocks. That became my liberated center . Next up was making fabric from more of the original triangles. I cut the made fabric into triangles and added them to the top and bottom of the center block. Then I made more fabric from tiny blue scraps and added a 1" wide border to all sides.
Now I'm smiling and I'm ready to add color for Step 3.
Showing posts with label LibRR2 Step 1. Show all posts
Tuesday, May 1, 2012
Starting Over
Click to see other examples with this label:
Kathleen C in CT,
LibRR2 Step 1,
LibRR2 Step 2
Monday, April 9, 2012
First Two Steps - Margaret
Hi there! I'm a bit late getting started, but jumping in anyway. Dug up some strips I'd made as part of a Shop Hop quilt in 2001! Each of the 10 shops had designed a strip. After 3 strips I got bored and didn't want to waste any more time on it. Here are the three strips.
I decided to use the middle strip to begin with. Parts of the others might join in eventually. We'll see. So here's how those blocks went together after they were liberated from the strip, chopped up, and stitched back together freestyle.
Stuck with purple for the Round 2 crumbs. Since the middle was already pretty crumb-ly,
I tried to contain it with a small orange strip but added a few orange teeth in the border just for fun.
Waiting on Round 3 to trim it up. Can't wait to see what's next!
Click to see other examples with this label:
LibRR2 Step 1,
LibRR2 Step 2,
Margaret
Wednesday, April 4, 2012
Round one LibRR2
I decided to use this block for my first round and liberate it. I made this block at a workshop last summer which I attended with my daughter and a good friend. I was testing color options. I like the brights with the black background, but only had enough of the focus fabric for two blocks.
First I added some solid inserts
Decided it needed something else so added the black and white inserts. I have to admit that I have been looking at every one's posts as I originally had no idea how to go about "liberating" my block!
Looking forward to seeing what is next as this is my very first Liberated Round Robin.
Eddie
Click to see other examples with this label:
Eddie,
LibRR2 Step 1
Tuesday, April 3, 2012
LibRR2 Step One by Jody B
| LibRR2 Step One by Jody B |
i was going to slash a couple of pineapple blocks but where do you slash a pineapple block --- too many seams. so i made a large simple black and white block and slashed it, inserting primary colors. i'm happy with it.
Jody B
Click to see other examples with this label:
Jody B,
LibRR2 Step 1
Monday, April 2, 2012
LibRR2 Step 1 - Kathleen
Hi everyone,
I'm Kathleen, living in Los Altos, California (on the peninsula in No.Cal, south of San Francisco and north of San Jose).
This looks like a fun experience and I look forward to learning alot in the creative process.
Not really knowing what I am doing, I took a block from my reject pile, and tried to liberate it. Unfortunately, as you will see, the structural problem with this block (failure to make beautiful points on the center diamond) continues with this exercise (humbling as it is, I decided to keep it).
I started with this:
I took the first cut:
Then got in the spirit and added more "pick up sticks":
This is my end result for my center block:
Having looked at some of the other blocks, I realize that I should have considered cutting the block up and rearranging, rather than just cutting up and adding my "pick up sticks". Or I could have put the block back together in a little less precise manner.
That being said, I am growing to like this block and hope that I will be able to add other elements as we progress through the rounds. And learn from the entire experience...
I look forward to sharing in your creative process as well as learning from each of you. Please feel free to access my blog at: http://www.californiadoodlesanddesigns.blogspot.com and join as a follower. I would so appreciate it!
I almost forgot, my log on name is "Cakath". Look forward to sharing with each of you.
I'm Kathleen, living in Los Altos, California (on the peninsula in No.Cal, south of San Francisco and north of San Jose).
This looks like a fun experience and I look forward to learning alot in the creative process.
Not really knowing what I am doing, I took a block from my reject pile, and tried to liberate it. Unfortunately, as you will see, the structural problem with this block (failure to make beautiful points on the center diamond) continues with this exercise (humbling as it is, I decided to keep it).
I started with this:
I took the first cut:
Then got in the spirit and added more "pick up sticks":
This is my end result for my center block:
Having looked at some of the other blocks, I realize that I should have considered cutting the block up and rearranging, rather than just cutting up and adding my "pick up sticks". Or I could have put the block back together in a little less precise manner.
That being said, I am growing to like this block and hope that I will be able to add other elements as we progress through the rounds. And learn from the entire experience...
I look forward to sharing in your creative process as well as learning from each of you. Please feel free to access my blog at: http://www.californiadoodlesanddesigns.blogspot.com and join as a follower. I would so appreciate it!
I almost forgot, my log on name is "Cakath". Look forward to sharing with each of you.
Click to see other examples with this label:
Kathleen (CaKath),
LibRR2 Step 1
LibRR2 Step 1 from Janet B.
Hello everyone, my name is Janet B and I live in Yorkshire, England.
I love liberated quilting but my style is probably more controlled than some members of the group. I love the style of Gwen Marston and enjoy making blocks in the liberated style rather than liberating the whole quilt!
I often make my liberated quilts in the medallion style, building up with sections and borders so hopefully this Round Robin will work for me.
I teach Patchwork and Quilting here in the UK and some of my classes have been working on Civil War quilts. My starting block for the RR was an orphan block that I had left over - some of you might recognise it as 'Birds in the air'.
I started by chopping it in two but realised that I couldn't do much else except rejoin it with a strip in the middle!The next cuts were better as I could switch the sections around to get a much more interesting block.
This block really needs to go 'on point' so I added some corners of more Civil War fabric.
I know this is not as liberated as it could be but who knows what could happen next?
Click to see other examples with this label:
Janet B,
LibRR2 Step 1
First part
My first quilt block ever made was a Log Cabin block (circa 1975), and my first four quilts were log cabin blocks. Last year my daughter was teaching herself by following Leila's blog and she was turning out amazing blocks, the first ones being Log Cabins. So thought it would be a breeze, hmmm. My quilt group is currently doing a shared contribution block of the month, and I was nominated for the first month. This was my 12.5" BOM but it's not flat! It definitely needs liberating...
Remembering previous attempts at taking a traditional block, cutting up and making something new, and messing up totally, this time much more caution... just cut off corners diagonally...
and insert a mauve strip...
Hmm, a bit too controlled...just add one more element...
Good! - still recognisable, but new! Now about 13.5" square.
Remembering previous attempts at taking a traditional block, cutting up and making something new, and messing up totally, this time much more caution... just cut off corners diagonally...
and insert a mauve strip...
Hmm, a bit too controlled...just add one more element...
Good! - still recognisable, but new! Now about 13.5" square.
Click to see other examples with this label:
Karen in Cape Town,
LibRR2 Step 1
Monday, March 26, 2012
star into square
I had the idea of making something round,
so I started out with an asterisk block
and thought I'd add to it, make it more of a starburst
This needed something else, so I added triangles to make it a square in square.
From circle to square---completely different from my starting idea.
Hope I can make it work with the second step.
Click to see other examples with this label:
LibRR2 Step 1,
Nancy S (Raggedy Sister)
June's LibRR2 Step One
| Initial Blocks |
I really like the points in the stars.... They are made of a HST but the second side has two equal pieces.
I decided to take the blocks apart - so as I was watching TV tonight, I ripped them apart (I felt so crafty while I was doing this!)....
So now I have all the pieces and have been working on rearranging them....
| A swirl of fabric? |
| Rows of Points? |
Or will it be one long columns of points?
| Column of Points? |
I haven't decided yet - But wanted to be in on the party of posting things for the LibRR2 so am posting even before I decided how to resew these pieces! I may just wait for Step Two before sewing - not sure now! I just know I'm going to make this into at least a lap quilt!
Thanks again to Marie for these blocks to play with!
: )
June
http://quiltquest.blogspot.com/
Click to see other examples with this label:
June,
LibRR2 Step 1
Saturday, March 24, 2012
my first post - wish me luck!
I've started my center block for this fun project. This is my first posting so forgive me if this posting looks wonky! I started with a LARGE block that I picked up from my quilt guild's "free" table.
Here's the finished block
Click to see other examples with this label:
LibRR2 Step 1,
Lori Kay
Friday, March 23, 2012
first round
May I add these? I am not sure if I have to do a quilt a month or a few blocks....? Please someone put me out of my misery :-(
Jane - UK
Jane - UK
Click to see other examples with this label:
Janey (Mother of Four),
LibRR2 Step 1
Thursday, March 22, 2012
liberated legos?
OK, here's my progress. I sewed 16 blocks together, then cut them apart, sewed them back together.
I don't think I'm done, needs some more liberating. But I'm gonna wait and think about it.
The colors are a bit off because the camera in my phone isn't great.
Click to see other examples with this label:
Amy in KY,
LibRR2 Step 1
Wednesday, March 21, 2012
First Round
Of course, this is too plain......so I slashed two of the blocks and then sewed them all together...
Well, maybe it needs to be slashed again, diagonally through the two whole blocks! But what color should I insert to give it a little zing? I am open to suggestions!
BTW, I still have a number of blocks left that I can play with......
Click to see other examples with this label:
Leanne C,
LibRR2 Step 1
Pattilou--Round 1
I'm trying not to overthink this, as I want to add more. I had these blocks from Clare from last year's Worldwide Swap.
And I rearranged them thinking that since they were block pieces I didn't need to cut them.
I had some hand dyed fabric that I had dyed some time ago. I made my first block.
I'm leaving the angle in the upper right corner as I may want to add something later on.
So, that is my first round--now complete!
Pattilou (aka Pat F)
And I rearranged them thinking that since they were block pieces I didn't need to cut them.
I had some hand dyed fabric that I had dyed some time ago. I made my first block.
I'm leaving the angle in the upper right corner as I may want to add something later on.
So, that is my first round--now complete!
Pattilou (aka Pat F)
Click to see other examples with this label:
LibRR2 Step 1,
Pattilou
Linda Kay's Step One
I don't have much in the way of orphan blocks, so decided to go with the wonky house that doesn't quite go with the other wonky birdhouses for a quilt I have in progress.
So I sliced it and added some words from a fabric in my stash. I may still add some borders around it, but haven't decided yet. May wait to see what the next step is in the process.
Click to see other examples with this label:
LibRR2 Step 1,
Linda Kay
Tuesday, March 20, 2012
Center - Round 1 Done
I decided to work with 2 different blocks and see which I like better at the end. I had a pansy block left after not following directions and then I had several 2.5 blocks from a table runner and some pink swaps so here we go.
Click to see other examples with this label:
LibRR2 Step 1,
Mary Jane
My First Round
I promise you - when you've spent hours planning what to do for everyone else and you get to start, it ain't as easy as it sounds.
I thought and thought and thought and eventually came up with this for starters.
Made up of pieces sent to me by Nancie V and Nann in the 2011 and 2012 Worldwide Swaps.
It grew a bit bigger and then I started slashing.
This is what resulted.
Umm - needs something else - a bit of Chartreuse Green perhaps?
I forgot how much fabric stretches when slashed. Nothing matches! That's liberated for you!
Looking forward to the next round.
I thought and thought and thought and eventually came up with this for starters.
Made up of pieces sent to me by Nancie V and Nann in the 2011 and 2012 Worldwide Swaps.
It grew a bit bigger and then I started slashing.
This is what resulted.
Umm - needs something else - a bit of Chartreuse Green perhaps?
I forgot how much fabric stretches when slashed. Nothing matches! That's liberated for you!
Looking forward to the next round.
Click to see other examples with this label:
Clare,
LibRR2 Step 1
Subscribe to:
Posts (Atom)