Friday, March 2, 2012

Invitation to Join in on LibRR2

You are invited to join in on the second Liberated Round Robin (LibRR2).

About LibRR2

The second Liberated Round Robin will commence in March 2012!

The quilters who finished the first LibRR were invited to collaborate in the planning of the second Liberated Round Robin. Clare, Mary, Pattilou and Jan decided they would each write up a section of the challenge for LibRR2.

Please sign up on this form to express your interest in joining in! You will receive access to post photos of your progress and to link to your blog or photo stream, you will receive a reminder email when each new step is posted to the site, and once you start posting photos of your LibRR2 you will be listed on the “Who We Are” page. (Even if you participated in the first Liberated Round Robin, please fill out the form.)

You are invited to join in on this online project. The emphasis this time will be for you to really stretch and to create a liberated piece! There are many different thoughts about what a liberated project is. Each author will be writing their guidelines so you get to know a little more how they interpret this kind of design.

You may use what ever fabric you desire for this project, and the end size is up to you. There is no need to match up colors to a focus piece of fabric - just pick something you like!

This time, in addition to following the guidelines for each round/row/part, we really want you to be open in how you order and size your pieces - so please do not sew them together until you receive directions for that step. There is no right or wrong way to do this - we want you to try to be open and liberated!

If you are interested in joining us for LibRR2, please use this form! (Even if you participated in the first Liberated Round Robin, please fill out the form.)

Pick and choose the suggestions you want to incorporate in your project and sew. Use these ideas for one to four+ rounds or rows that will eventually surround your initial block. This time, please hold off sewing your parts together until April/May. That way it will be easier for you to be creative during this process.

It’s okay to combine ideas, add alternative blocks, insert separating borders, or cut and rearrange what you sewed between rounds. Please report back to the others on the blog to provide motivation and ideas!

If you get behind, that is not a problem. You will receive an email to remind you when a new step is about to be added.

Information about LibRR2 will start to be posted on March 2012.

Join in at anytime.  To follow along as we first work on LibRR2, here is the Tentative Timeline (all Fridays)
  • Mar 2- Invitation to LibRR2 (June)
  • Mar 16- Initial Block/Part/Round/Row (Clare) (Time to sew Mar 16 to Mar Apr 5)
  • Apr 6- Second Round/Row/Part (Mary) (Time to sew Apr 6 to Apr 26)
  • Apr 27 - Third Round/Row/Part (Pattilou)
  • May 18 - Final Round/Row/Part (Jan)
  • June 8- Please try to post your flimsie by this date
  • July 6 - Final Reveal Day - Please try to post photo of your finished project by this date!

If you finish your parts/row/round before the posted deadline, please post a photo and share your thoughts on the blog. Then move on to another project until the next step is revealed!

The idea is not particularly to create the perfect project, but to participate in an online event while creating a quilt! Remember we all learn from each other and incorporate ideas into our own interpretations.... The more we experiment and sew, the better our pieces will become.

To read how this differs from a traditional round robin - click here!

Please share this invitation with your quilter friends!


If you are still working on LibRR1 please continue to post your progress to the blog!

Wednesday, February 29, 2012

Squares and scraps


As we've been going forward I've been consulting with the Liberated Quiltmaking book. I love the notion of sewing scraps together & you can see that I kind of went nuts doing it. I started off with the square within a square using the hand cut square for a less severe look. Then, I needed spacers which is when I really got into the scrap business.

I had thought that just adding onto one side would look ok, but I was mistaken and so put more scraps on the other side for balance. I think the next round should help unify this, or I hope so!

I am utterly inspired by this blog!

Thursday, February 16, 2012

Am I the Slowest one?

Round 2 Triangles Finished and I displayed the piece at a local art show. So squares next? perhaps I'll be faster with this round, thank-you for the inspiration.

Wednesday, February 15, 2012

Almost Finished


I thought I'd have my RR #1 quilt all hand quilted by the end of the winter, but it's not going to happen. Since the RR #2 is about to begin, it's time that I posted a photo of the almost finished 60" x 70" liberated quilt.

Do you see the hand in the left corner? I quilt around the shape of my hand on all but my small wall quilts.
I'm quilting with embroidery thread, making up easy quilting designs as I go along.

Thanks for a fun experience with the Round Robin!
Kathleen C in CT

Wednesday, February 8, 2012

Much better...


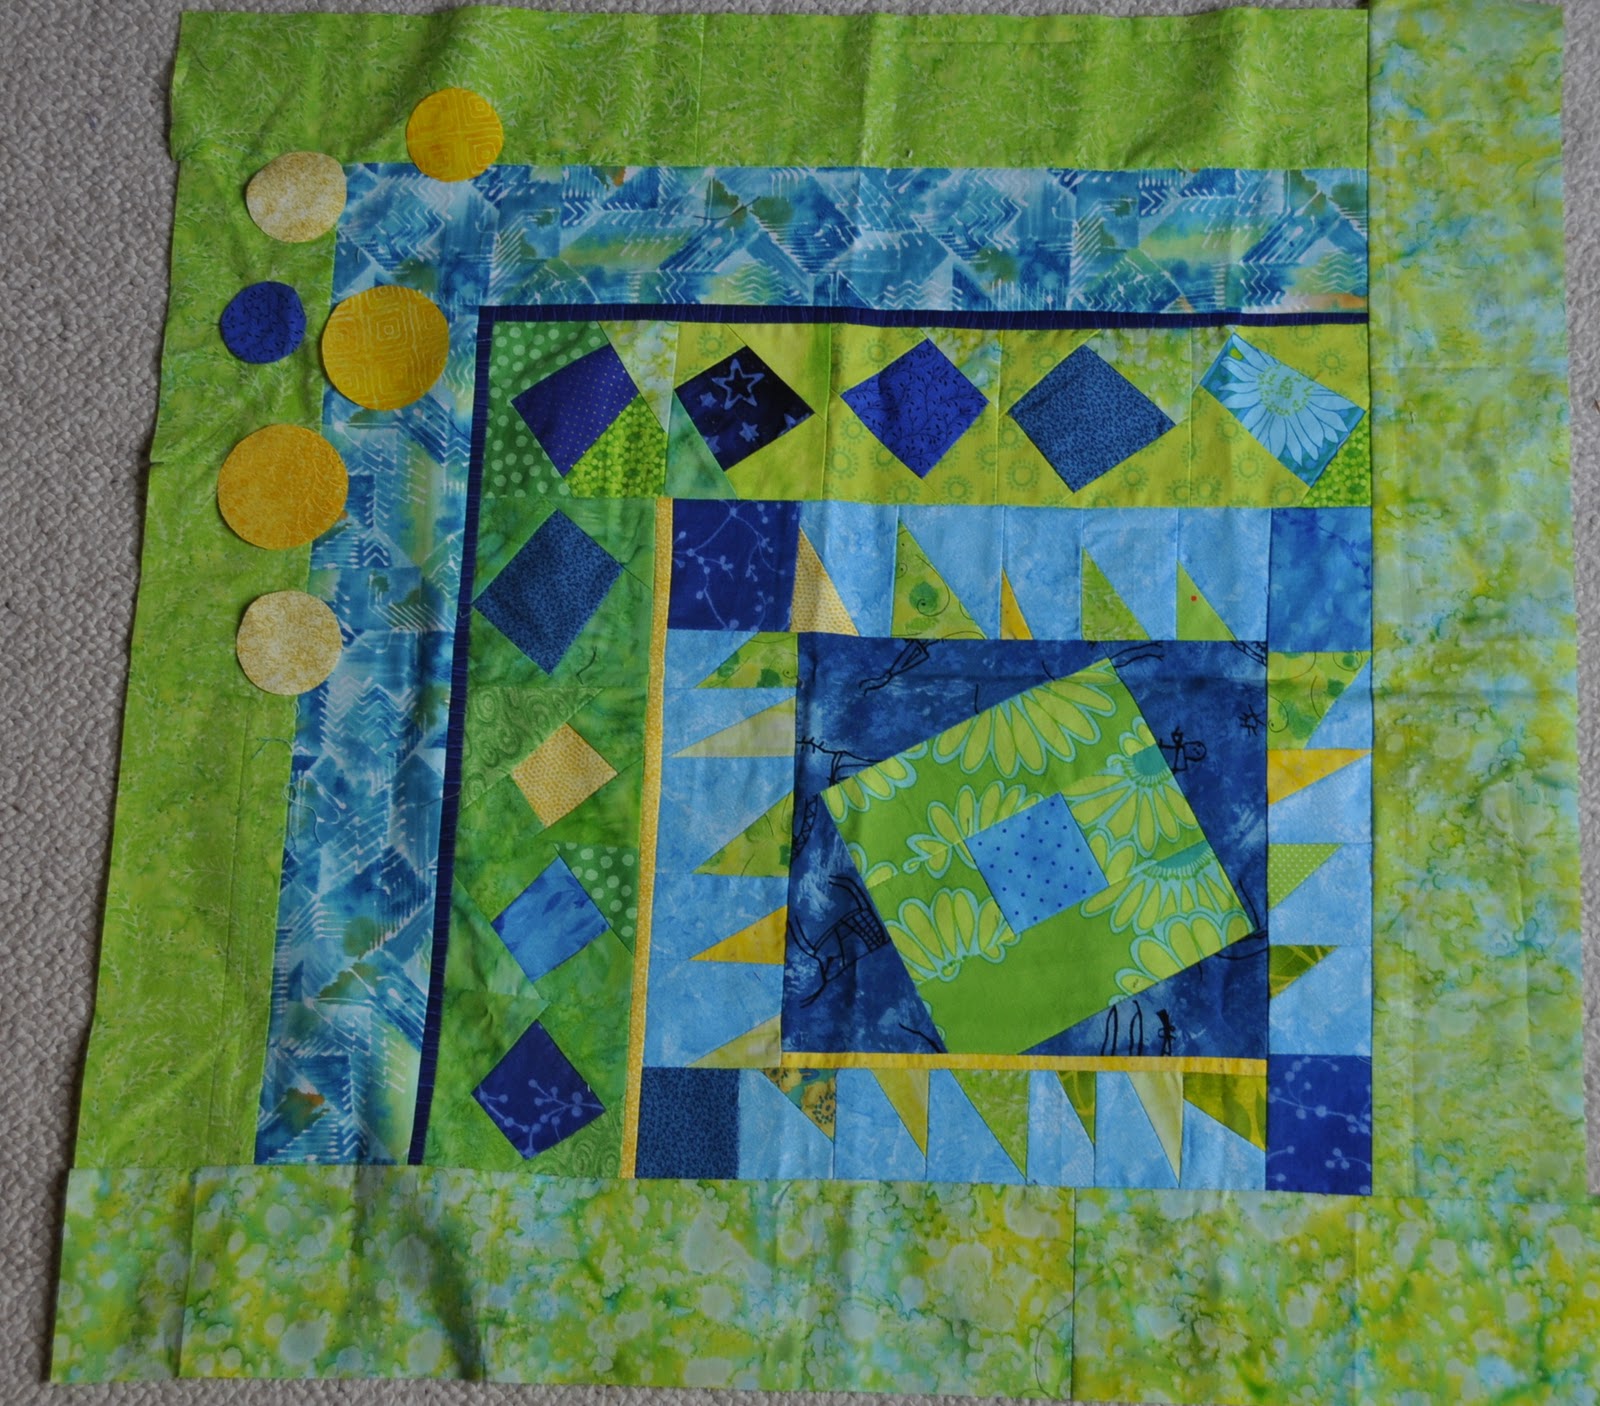
I took the left and upper border apart and added some dots and another border and now I like it a lot better.
I was sure the top was finished, but as I look at the photo there seems to be something missing in those green corner spaces ..
Heidi


Monday, January 23, 2012

Still no progress

Hi, thanks for the reminder.
I'm still stuck with the curvy part, the last thing I came up with where some random dots.
Here's a try, but I'm not happy with it. Maybe it only needs a lot of more blue dots. 
I also thought about fish shaped parts.


Any suggestions are highly appreciated :-))
Heidi

Friday, January 20, 2012

Round 5: Curves.... Really?

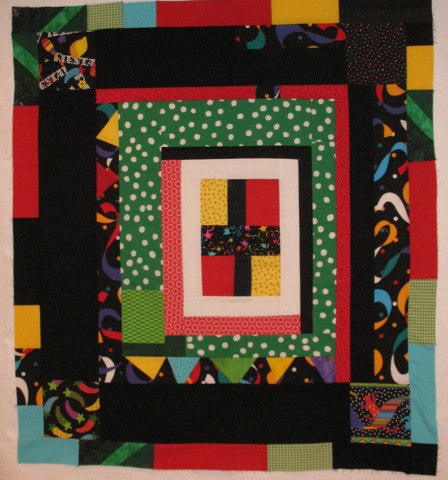
Well, just as this border went 'sideways' the picture did too. If you want to view it as it is on my design wall, pick up your monitor and turn it 90 degrees to the right.  Anyway, the objective was to create "curved ribbons" similar to the printed fabric in the prior borders.  The process was the technique at Victoria at Bumble Beans blog called wave runner.  I think it achieves the look better if you are A.  using longer pieces and B. not really trying to create a specific copy of something.  So I am debating keeping these, or scrapping them and starting over..... which is really not an option because I don't have many of the fabrics any more.   So... I have decided to rename the piece.  It is now : Fiesta with Ginsu Knives.  Really. What d' ya think?

Thursday, January 19, 2012

First Liberated Round Robin.....

Thanks for signing up to be part of last summer's first Liberated Round Robin:

I just wanted to encourage you to finish up (or start) your LibRR1! Please post photos and let us know the final size and what you are going to do with your project.

We are getting ready for LibRR2 - due to start in March 2012. Sure would be nice if LibRR1 was ready to use or give away before then!

Thanks!
June

Please use this form to update or request access to post on the site!

My Progress so far...


11-26-11 - Basted what I had in my LibRR.

11-30-11  Divided the top into sections and started to quilt each one with a different design.

11-30-11  Second section done.

12-1-11 FMQed a third section. (Hardwood Floor design)
12-1-11 Here is what it looks like on back!
12-2-11 Another section done!
12-4-11 Getting more creative with section five.
12-4-11 I like the back as much as the front!
12-4-11 What I have pieced so far is now quilted.
At this point though we had a bunch of workmen in the house (removing cottage cheese, putting in lights, and painting.  I had to move everything or cover it up to protect it - not just sewing room but all the rooms!  I finally found my fabric again so will be continuing with the project now!

On to Round 3 Rectangles and Round 4 Curves for me!

To see more detail on these click on the image and then click to open in a new tab.  Double click to see enlarged views.


Friday, December 9, 2011

Thanks to June.....Rectangles

Thanks to June, who figured out how to 'liberate' my image from the Yahoo Groups folder and emailed it to me. Then I was able to transport it here.  Were you envisioning this step?  Really is simple, huh?  Well, the next border is making up for the last two, that's for sure. Thanks for looking and imagining!

Thursday, December 8, 2011

And then the Rectangles

Well, I have tried and tried to upload the picture of this step/border.  But  I can't find it on my computer..... really, I think the picture fairy stole it.  And I uploaded it to my Liberated Yahoo Groups folder, but it won't let me transfer it here.  So you will have to imagine the last picture, now add in your mind brightly colored rectangles, approx. 2 1/2 in, by 4 to 6 in. all the way around the outside.    That's it.  Remember I said we are in the middle of the Christmas season?   I was trying to keep it simple and get it done fast.  But......next border may not show up for another 6 months.  Since the element is curves, I decided to use Victoria at Bumble Beans blog  method for doing curved piecing.  Trying to mimic the streamers in the other fabrics. Well..... at this point I'm not sure how successful the technique is working for this project.  But I REFUSE to applique!  Just sayin', I know that would work and give me beautiful curves, but not doin' it!  :)

Next up: Squares

Since I waited so long to get started with this challenge and then decided to take it up again in the middle of the Christmas season (what was I thinking, right?), and I found this charm pack from Andover fabrics that just so happened to fit in with my party theme, the Squares border is a simple one with the cornerstones being the charm squares.  One says 'Fiesta' in the print, so that has become the name of this top. Are you feelin' it?

A Little Progress....

 So the original block, as best I can remember started out from some bits and pieces that were lying around and I thought they could go together into something. Leftovers from a Project Linus bee most likely, so there were just a little bit of this and a little bit of that. So the center block reminded me of a package and the ribbons fabric in the triangle border promoted the party theme, so I went with it.  Even though it is shaping up to be a medallion design, I didn't want it to be so regular, so the borders were put on asymmetrically.  Some of the triangles do not show very well, but they are in there, I promise!

Latecomer to the Round Robin Party

Jo in PA here.
Wow, I can't believe I am this late getting to the Round Robin party.
Maybe I will get the booby prize. Oh, well, better late than never. I had good intentions of starting this way back when the idea was first proposed. But it is easier to think about sewing than it is to actually DO it. So this was in my head and I even started the center block, and then..... got stuck.
So fast forward 6 months and progress occurs!

Saturday, November 26, 2011

Colours of Life


Didn't finish it as it was getting too big to do squiggles.

It was my Mother's 80th birthday party last week. I was going back to the UK for it and needed something to give her.

She's been on at me for ages to make her a lap quilt to keep her knees warm so I pulled this out, took a deep breath and machine quilted it. Just straight lines, using 1" masking tape as a guide. Not bad for a first attempt!

Finished size approx 48" by 46".