Showing posts with label LibRR2 Step 3. Show all posts

Thursday, July 12, 2012

At the flimsy stage

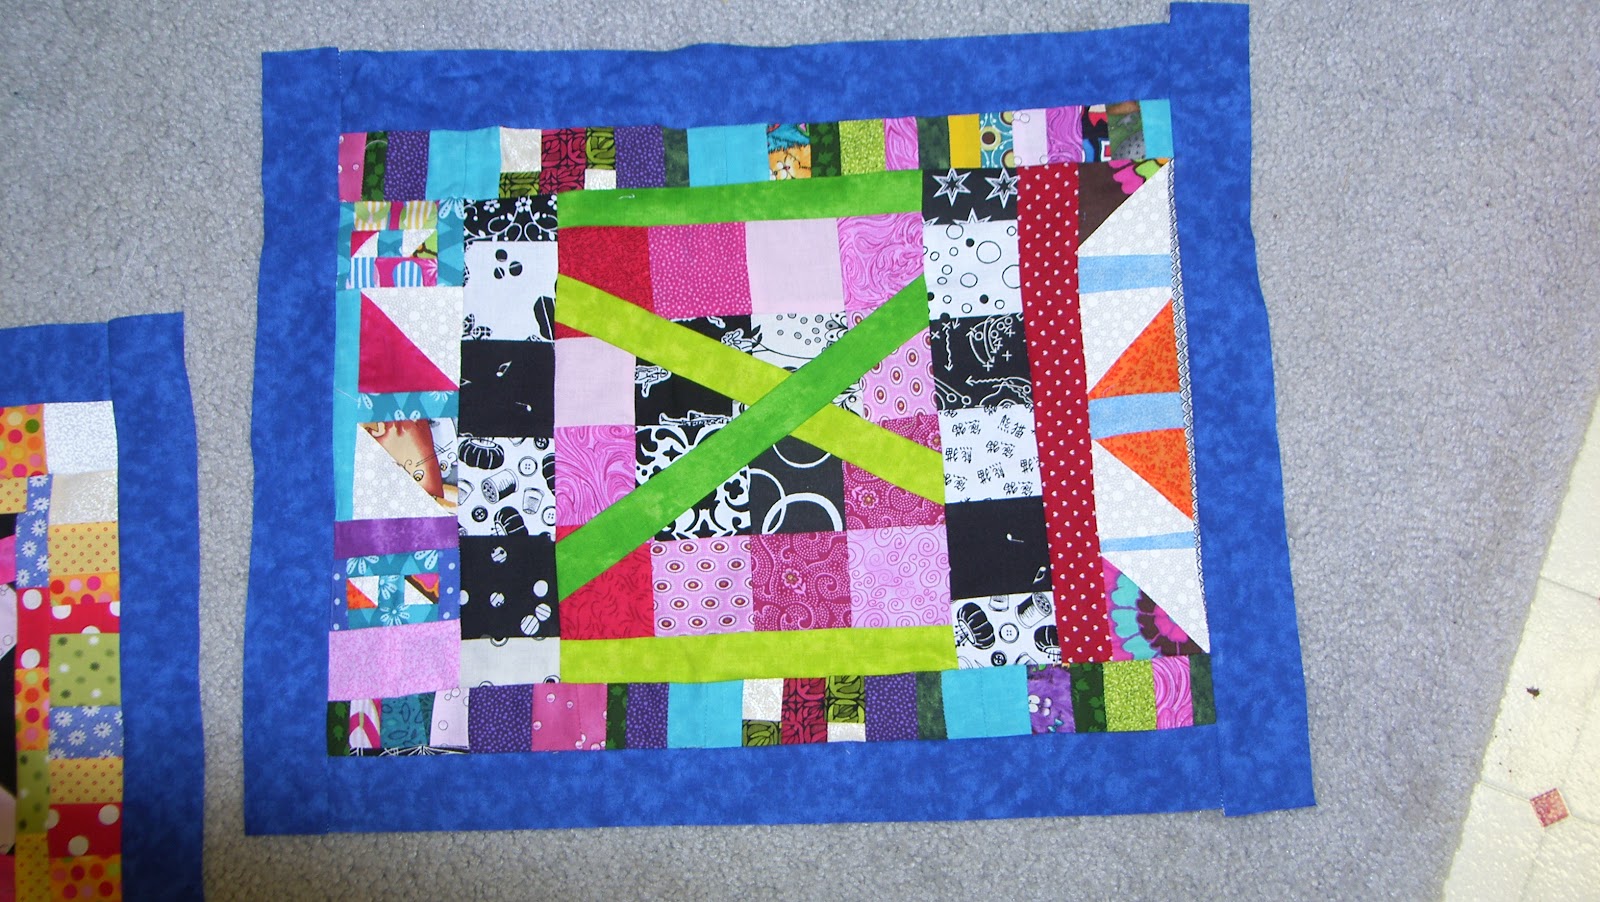
A bit slow in getting to this point, but nonetheless a flimsy has emerged.  

This is what it looked like after adding colour.  As the piece had a fair amount of colour already I added the white with black and white circles, and trying to make it a bit bigger and less square, added the two yellow strips.

Next, Serendipity.. hmmm...  using the floor to see this layout, and I think it will work, two different purple pieces, the 4.5" green made squares and the 3.5" mauve strips interspersed  with some on the yellow and turquoise bits.  A liked it more at this point before putting the bits together.


And the final flimsy.  I think it will (it had better!) improve with quilting!  I wanted to make it as big as possible without spending any more time on it (a mistake!).  I have loved the process, thank-you.


Thursday, May 17, 2012

Adding color

I shouldn't be intimidated by this project but I am.  It took me three weeks to get up the courage to try this next step.  Sheesh!  I'm pleased to say that I'm happy with the results!

Wednesday, May 16, 2012

Catching up

I made some crumb blocks and then didn't know what to do with them.  Played around some more, then added some lime green bits.  Tried a couple of other things.

Then I decided to make a wonky sawtooth border for the top.  Pretty happy with it.  Eager to see what the next step is!

Tuesday, May 15, 2012

Round 3 done at last!

I decided to go with black and white, was feeling like I already had plenty of color. I had a piece of unused black and white strata, cut on 45 degree angle and added after I added a mostly black border to break the color from last round. Hope next round calls for color now I think it has to much black and white ;-)

Sunday, May 13, 2012

Adding color...and I found an old UFO to use

As I was going through my drawers in my sewing room today, I discovered this:


I had started it last year for a challenge, and put it away while I got distracted with dozens of other projects.   It uses pretty much the same process as the one we're doing for this project, so I decided that I'd just do two of them now.

This step is to add color.  As you look at this piece, you can see lots of yellow.  I had a nice canary yellow solid in my stash, and added borders to this piece. I think they brought everything together quite nicely. : )


The piece below is the one I started for this current project - it began with the pansy block.   I wanted something bright and cheery, and was torn between red and green. My red wasn't cheery enough - so I went with the green:

Saturday, May 12, 2012

LRR3!!! I did it, I did it! I blinking did it!

Ah, Ladies, it took me some time, it took me some more grey hair (I don't actually have any but it sounds good), it took me some more wrinkles, and it took me ages! BUT I got there eventually....

You see the problem was, with the detail... isn't it always, we had to 'inject colour' - I already had so very much colour that my Blocks can't be removed from their box unless all viewing are wearing a welding mask and are behind a radio active shield... So you see my dilemma was huge :-(

I wrangled, and pulled, and tossed and turned, blew hot steam out of my ears and blue smoke from my nose, yet still couldn't find a way to complete this leg of the tour...

Until my beautiful partner (He who shall not be named), unwittingly pointed to my rather cluttered (and newly elongated) sewing table with a disgusted nose, which read - look at that mess, she needs to clear it up. I did and lo and behold, a fabric brilliant for this leg fell out from under the others. Black with multicoloured flowers, little flowers so from a distance it looks like a grey. Perfect I thought, I can frame, cut, slice, pin and poke with this and all will be good and calm in the Liberated Robin that is round and comes to visit us once a month....

Having avoided the blocks since the post detailing what we were to do came through, I got them out, pawed them, stroked them, wondered and pieced (mentally) and then came the hack and slice....

Which then prompted the sew up and seam...

Am I pleased with the results? Oh well, yes I am, very much so, and sew I should be... As should our own dear Queen... 'You'll see!'


There you are!!!! two blocks, I couldn't just couldn't do anything with my other two yet... thats a time will see one... But, I love the tea cup I did!!!! lol Can't have anything British without a brew can we?

Wednesday, May 9, 2012

It's Purple---Step 3 Complete

After much thought---I decided that my color for Step 3 needed to be Purple.  I noticed many little bits and pieces of purple in the feed sack fabric and since this is going to be an AAQI quilt, purple just had the be the color of choice.  My big problem was what to do with it.  I started thinking about some liberated flying geese.  Then I was going to make my fabric from Step 2 into to liberated stars, but nothing was looking like I wanted it to---so I started cutting strips.  I noticed that the black in the original log cabin seemed to be exploding out the side---so I made one liberated star to accent the movement of the black fabric in the original block.  What fun!!  I love not knowing exactly where you're going until you get there.
The little quilt measures 8 x 9 inches and is ready for Step 4.

Tuesday, May 8, 2012

  Hustling right along, getting caught up after a week of making sailboat stuff, not having quilty fun. I finished Step Two by doing a zigzag around all those crumby circles (what was I thinking when I made those?!!) and then adding crumby borders.Okay. Now for Step Three, color. OMG, I have so much color the only thing I can do is use a solid -- everything else made me cross-eyed. I do have more black but that looked too dull and not a "color." So searching through the stash, I found 4 colors with enough fabric for a wide border, all possibles. Which one do you like?


Stepping ahead

This liberated thing is hard. Not sure that I like this block. Sigh.
But let's give it a chance. I started by adding more color.


For Step 2, I had a great time making a whole pile of squares with bits and pieces (ignore the pandas--I was using that quilt as a design wall), but when I put them with my block----yuck. Didn't work. What next?


I didn't know where to go with this. I'm wishing I had done something different. Other people's blocks look so much better. Why can't I be free and easy? Should I start over? And then my sewing machine jammed.
While waiting to get it fixed, I read Step 3: Color. And thought, ok, add more green.

 Hmm. That's enough green. What about more yellow? No. Orange? No. Needs more red.
Someone had left scrap triangles at my guild's free table, and I added more strips to make big red triangles.

And maybe add just one little square in the middle?

Leaving it here until the next step...

Step 3 Color and Falling Down the Rabbit Hole

I'm almost late in posting Step 3 because Step 4 is right around the corner.  Now we have to deal with my choices which is where I went down the rabbit hole just like Alice.

The directions were color.  I'm not afraid of color.  No problem.  But first I thought I should contain my last round with some black.  Done.  Then, I thought I would make some very bright wonky log cabin rectangles for the next row.  But I made them too big and they looked odd.

So, I decided to add very large orange chevron fabric (ala Gwen and Freddie except they usually add smaller black and white chevrons... ) Yep, I went for large, very large, orange chevrons:

Hmmmm, not sure whether I'll keep the chevrons or ripppppp it off and try something else.  Maybe if a few pickup sticks went through the chevrons it would work.  What do you think?  Stay or go? 

I do think I met the color requirement for this round...just saying.

I so enjoy seeing what everyone else is creating!

Monday, May 7, 2012

Step 3 Pattilou

I did a whack job this morning.  There was something about my piece that I didn't like and I decided it was the bottom.  This is my piece awaiting the last step:


Okay, here's what I'd done with what I had.  The pieces that I had last
Raggety Sister left a comment that it reminded her of a "hip city neighborhood."  My mind took a new turn from there!

I kept looking at the piece and decided to not use red, but use orange.  I moved things around and came up with this

The little piece with the girls playing dolls was a little scrap from some fabric I'd sent off to Sunshine Quilts and I'd planned just using it in a quilt for some child.  But, I thought, why don't I made a semblance of my childhood neighborhood.  I grew up for the most part in a business district of a small town.  Across the street was the elementary school and down the street was the butcher, the cleaners and and electrician's shop.  My dad had a bakery.  We lived in the apartment above it until I was about eight and then my parent's purchased the house just next to the bakery.  So the little girl is me playing with a friend at my house.  The house on the right is her house.  It was in a neighborhood.  I loved that neighborhood and thus I put the little window on my friend's house that represents the love I felt when at her house.  The black in front was to represent the street.

I decided I needed a sidewalk between the lawn and the street and added this
But, as I said before, it bothered me--too much black at the bottom and the strip for the dividing line was too big.  So, I cut it down and this is now my piece.
I think I like it better.  I have an idea for a border, but I'll wait until the next step for the directions.

Sunday, May 6, 2012

LRR2 step 3


I went round and round my head with this step.  Add color.

  I thought about a brighter blue, but then the whole piece would practically be shades of blue.  I knew I had to be braver than that. I tried black, and white, and a black and white print.  I even tried holding up a purple.

 Finally, I decided that I had already touched on color, just somewhat timidly.  I didn't have any more of that yellow, but I had this gold that has yellow flecks in it and I had more of the hot pink  So, I thought I'd pull those colors to the front, instead of being just hints of color.  I made the pink border wide, so I have room to play with it some more, depending on what the next step brings.

Much Better


Here are pictures of the two pieces I decided to work on through this project. After the second round, I just wasn't happy. However, adding the "color", resolved some of my problems. I know I am liking these much better.

Saturday, April 28, 2012

Round Three

Round three said to add color or black and white. I chose color and inserted it and bordered it. Now it is hardly recognizable to the original block but I am still liking it. I am looking forward to the next round. Can't wait to see what is next. I am having a lot of fun with this and added borders to a whole bunch of blocks yesterday.

Friday, April 27, 2012

Liberated Round Robin 2 Step 3

LibRR2-3
WOW! Liberated quilters you are doing wonders already with color!  Color is my addition to the challenge.  But, after looking at the the entries so far, I see so much fun use with color that I doubted a bit at what I could add.  Soooo, I went to my Gwen Marston books.  Let me share with you some of what she has written about color in Liberated Quiltmaking and as she reiterated in her Liberated Quiltmaking II, p. 9  
“  *You don’t need to choose all the colors before you start sewing.
  * Consider adding accent colors.
  *Trust yourself when choosing colors.
  *It’s harder to make a mistake than  you think.
  *It’s easier to err by playing it too safe: over coordination can lead to the “color by number” look and a monotonous quilt.
  *The more fabrics you use in a quilt, the less important each specific fabric becomes.
  *Sometimes one color will help unify a quilt.
  *Study other quilts for color ideas.”

So with that in mind, I’d like you to look at how you’ve used color so far.  Does your piece need a unifying color?  Some call it neutral, but we’ll skip that term as theories are just theories.  Maybe you have a favorite color you’d like to add.  I’ve joked about Lime being my new neutral.  Maybe you’d like to spice it up with black and white as Gwen and Freddie have done in many quilts in Collaborate Again.
There’s always grey, beige and even purple tones that can be added.  Don’t stress too much about this portion.  Now’s the time to whack it apart a bit more, or for those of you that don’t want to whack any more, add a new color.  For those of you who have parts saved, figure out what color/colors you can now add and then assemble them all into one main block and await next month’s challenge. 


So to review, you’ll be accenting or unifying your quilt this month with COLOR.  

You’ll be assembling any spare pieces you have and adding them with color to make ONE piece--
above all, have more fun as you seem to have been doing already.


http://gwenmarston.com/books/books.htm  will give you some visual stimuli from Gwen.